
The easiest travel problems to prevent are often the tiny ones: a black charging cable left beside a hotel socket, a luggage tag that tears in the rain, or a battery case that looks exactly like everyone else’s. A compact engraving setup turns one quiet evening before departure into a useful labeling session.
Start with the things that disappear first
Empty the daypack, tech pouch and checked-bag pockets onto a table. The best candidates are not necessarily the most expensive items. They are the objects handled repeatedly in busy places: power banks, camera batteries, cable organizers, key rings, reusable bottles and the small hard cases that tend to migrate across a hotel room.
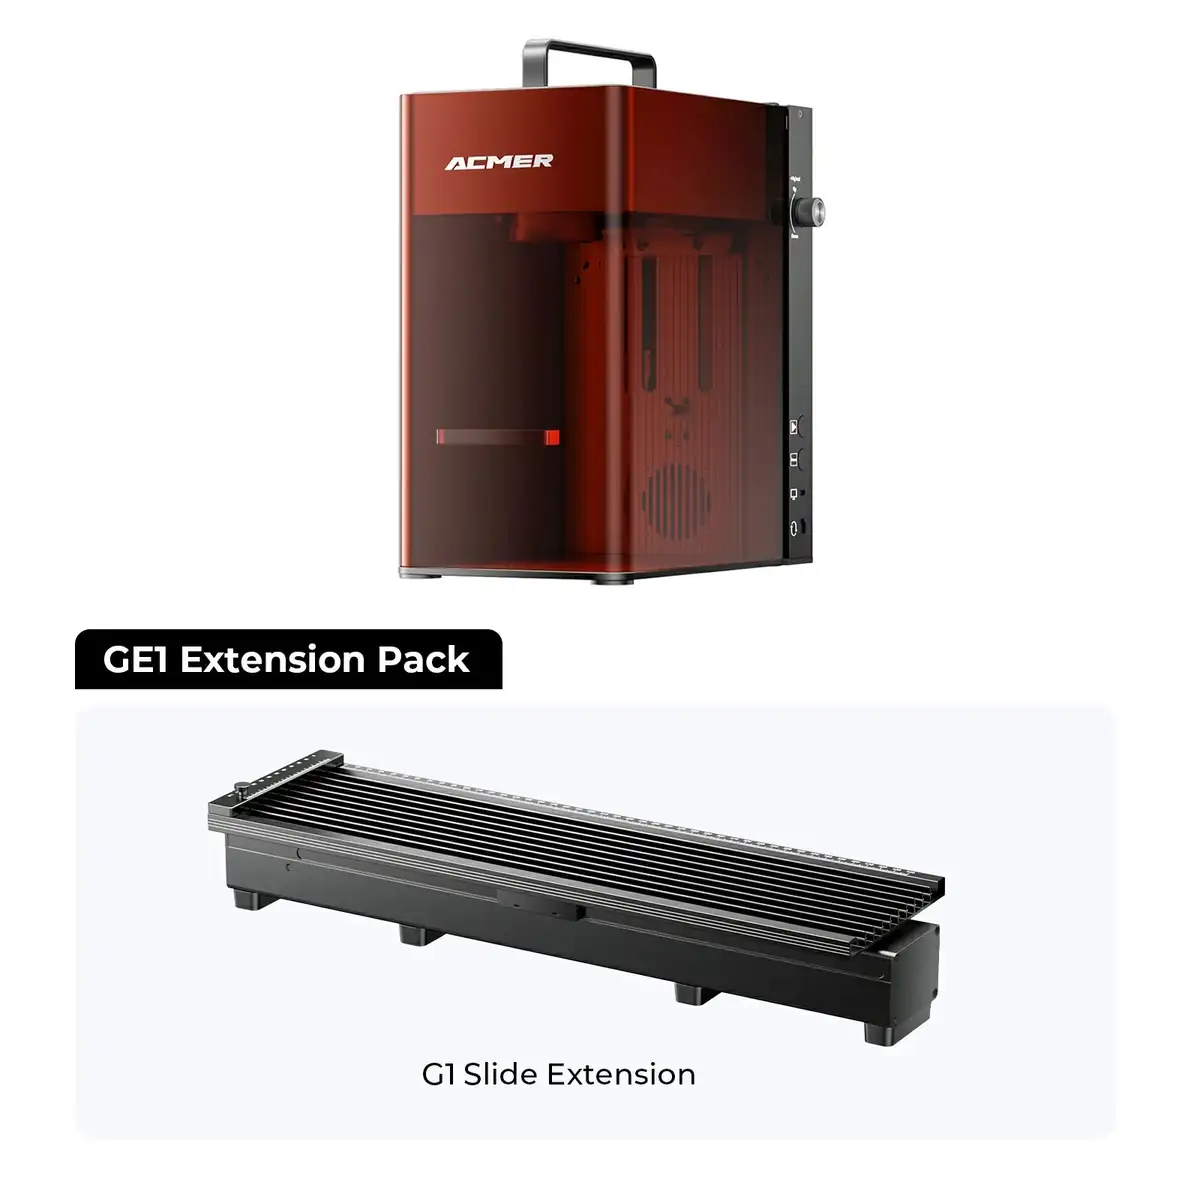
ACMER’s GE1 combines a 10W diode laser with a 2W infrared module. That pairing makes it worth considering for a mixed travel-label workflow: the diode side suits materials such as wood, leather, paper and selected acrylic, while the infrared module is intended for marking compatible metals and plastics. Material compatibility still matters, so check the maker’s guidance and test an offcut first.
A labeling system that helps without oversharing
A good mark answers one question quickly: who should this item return to? Initials and a mobile number are usually enough. Avoid putting a full home address on equipment that announces you are away. For family trips, a simple two-letter owner code helps sort identical chargers without turning every cable into a personal-information card.
Sort by material
Keep wood, coated metal, leather and plastic in separate groups. Unknown plastics should stay out of the machine until their composition is confirmed.
Choose one visual language
Use the same typeface, icon scale and contact format throughout. Consistency makes a tiny mark easier to recognize at a glance.
Run one sample
Test focus, power and speed on scrap. A clean light mark is better than a deep burn that weakens a tag or obscures small lettering.

Build a small batch, not a production line
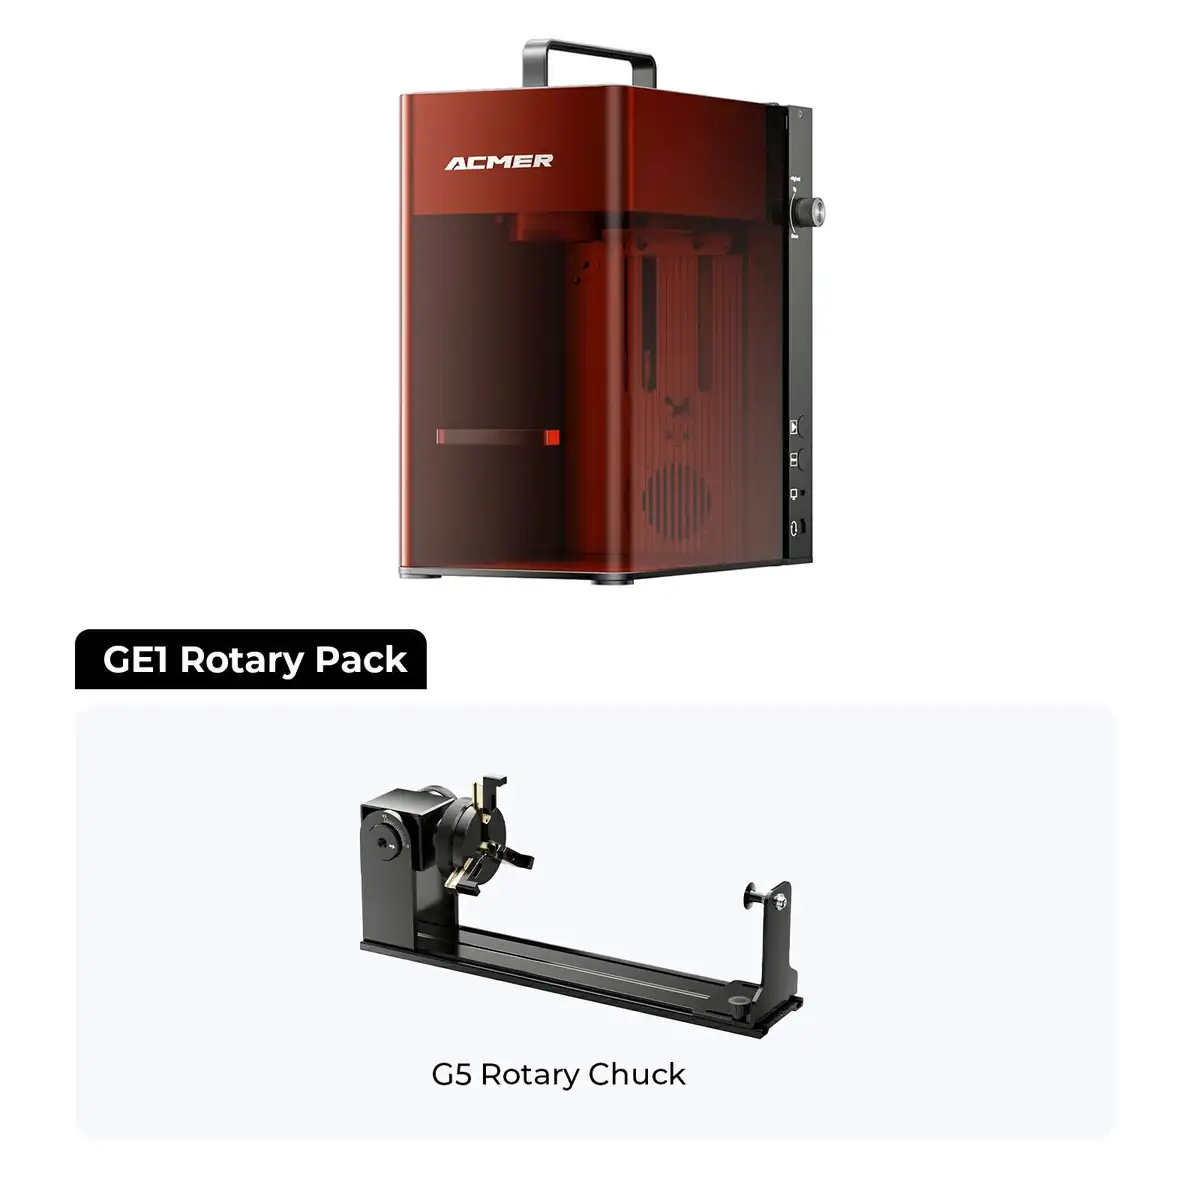
The GE1 is designed around fast previewing and engraving, with automatic focus and a standard 105 by 105 mm working area. That is a comfortable scale for luggage labels, key fobs and small gear plates. An extension accessory can accommodate longer work, while a rotary attachment opens up cylindrical items when the surface and coating are suitable.
Prepare the designs together, then engrave by material group. This reduces setup changes and makes it easier to compare results. Keep a note of the settings that worked; the next trip should begin with a short checklist, not another round of guesswork.
Five useful projects for the night before packing
Make a weather-resistant contact tag for the main suitcase; a slim identifier for the family charging pouch; owner markers for camera battery cases; a wooden card listing emergency contacts; and a small key fob with the accommodation name on one side and the booking reference on the other. The last item can be discarded after the trip, keeping sensitive details out of permanent luggage labels.
The point is not to brand everything you own. It is to add a calm, readable cue where confusion is most likely. Done well, the marks fade into the background until the moment they save a call to lost property.
Explore the ACMER workshop range
Compare the GE1 modules, accessories and material guidance before planning your own travel-label batch.