
Most road trips leave behind an unruly digital archive: screenshots, starred cafes, a receipt from the place with the excellent pie, and a route line that only makes sense to the people who drove it. Turning that line into a wooden map gives the journey a shape you can keep without trying to preserve every detail.
The edit
Choose the journey, then simplify it
I began with the actual route, but I did not treat it as sacred. Motorway interchanges and every minor bend made the first draft look like tangled thread. The better version kept the coast, the mountain pass, the overnight stops and the detour we still laugh about.
Export or redraw the route as a clean vector line. Add only the labels that carry a memory: town names, dates, a short trip title and perhaps coordinates for the start and finish. At display size, generous spacing reads more elegantly than a map crowded with facts.
The material
Let the wood carry some of the story
Birch plywood gives crisp contrast and a light, contemporary finish. A warmer hardwood veneer feels more like a traditional travel object, though grain and glue layers can make results less predictable. Whatever you choose, buy enough for a test square and the finished panel from the same sheet.
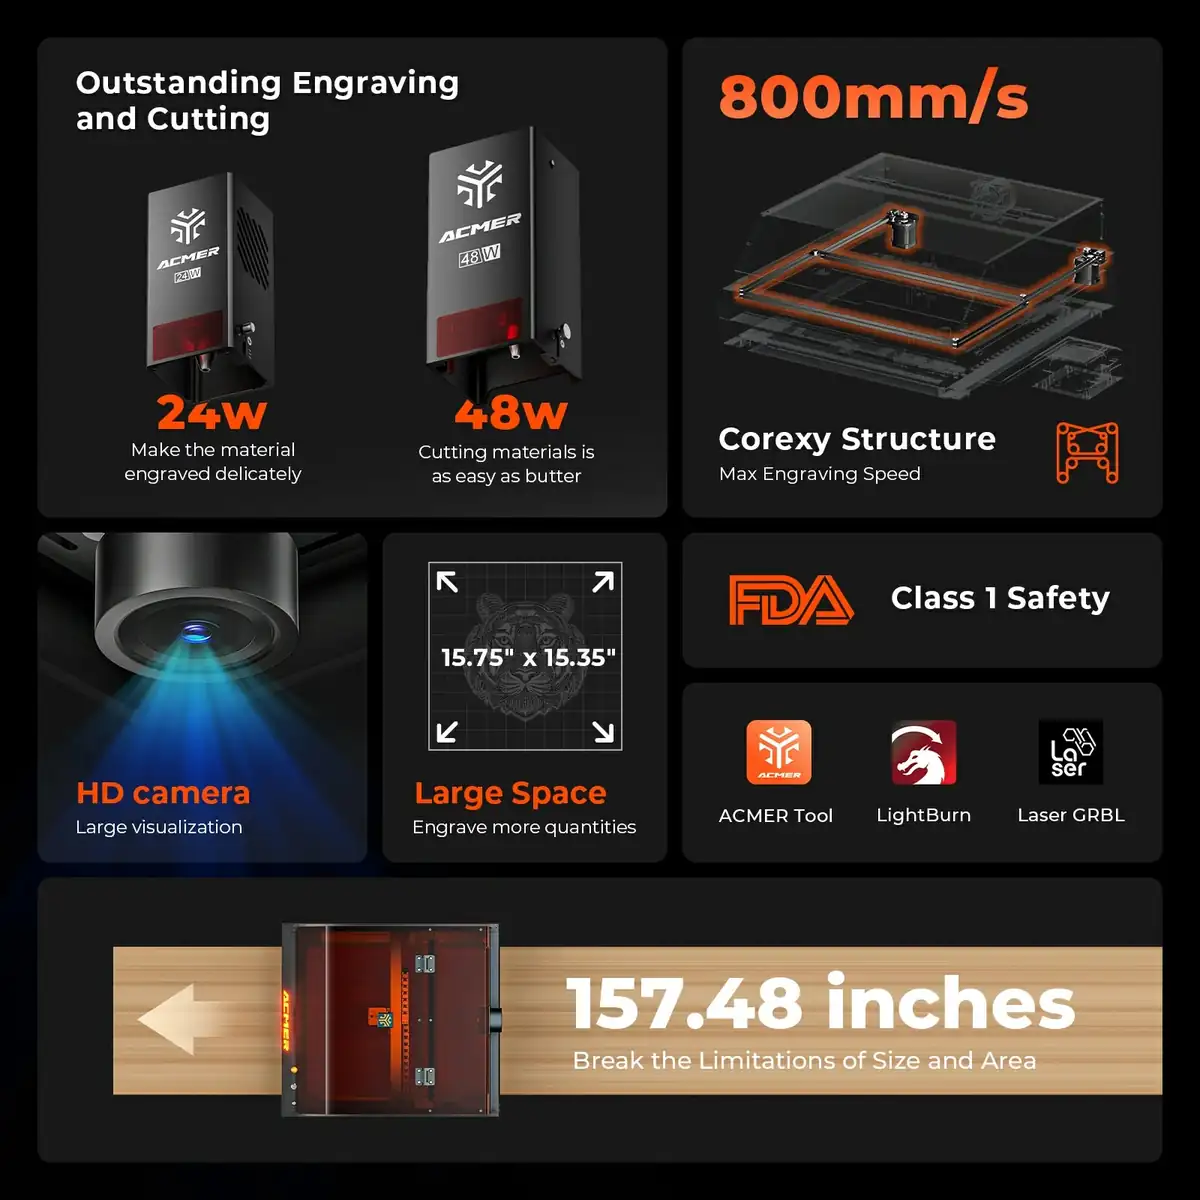
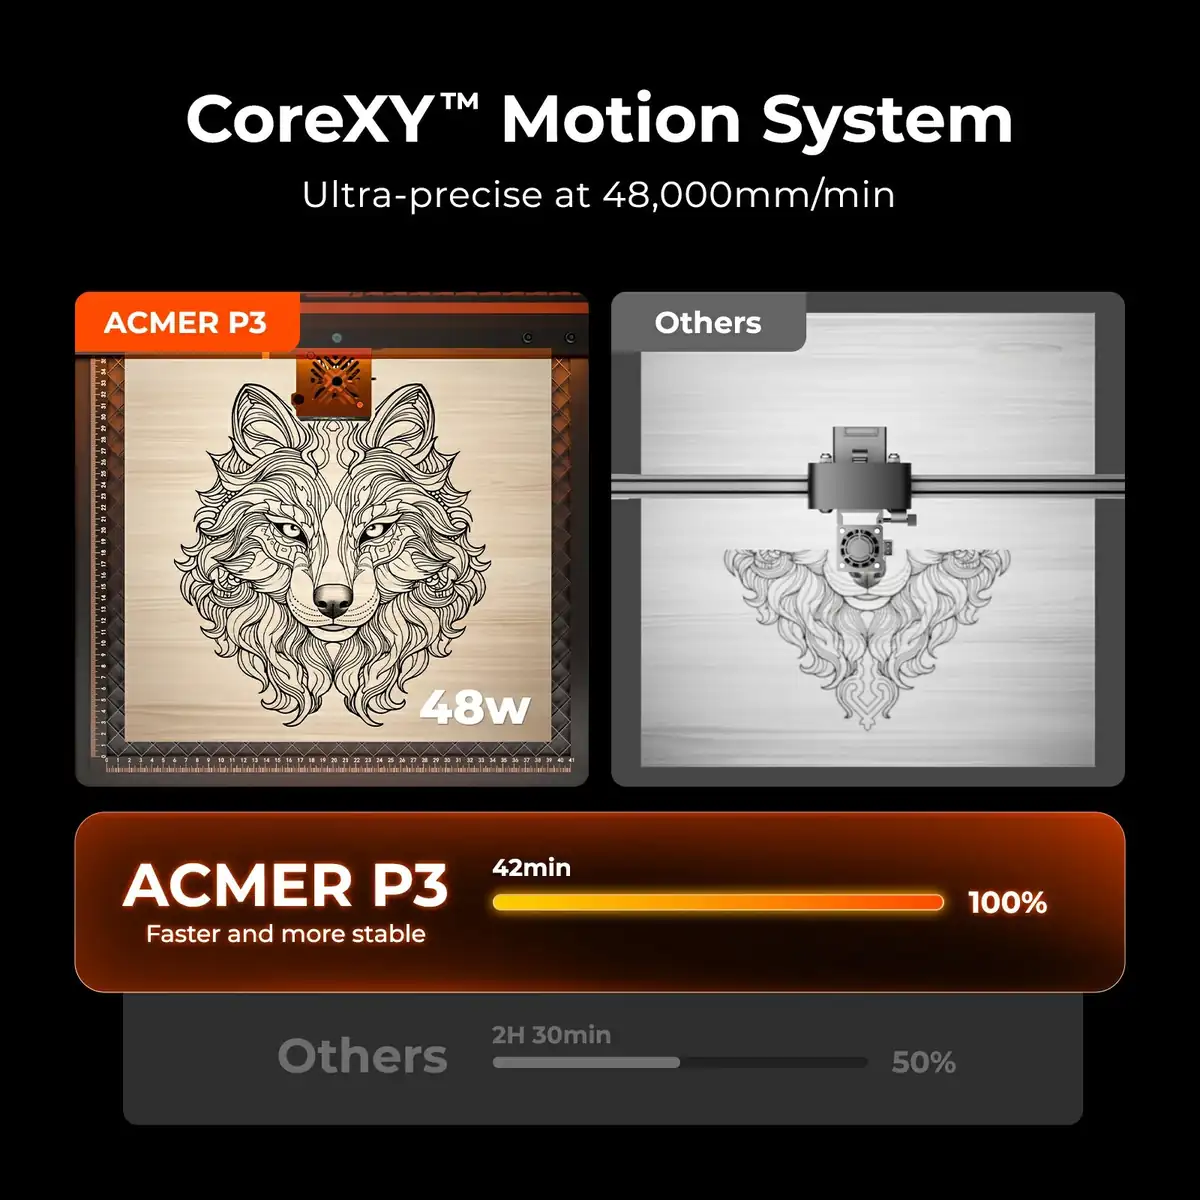
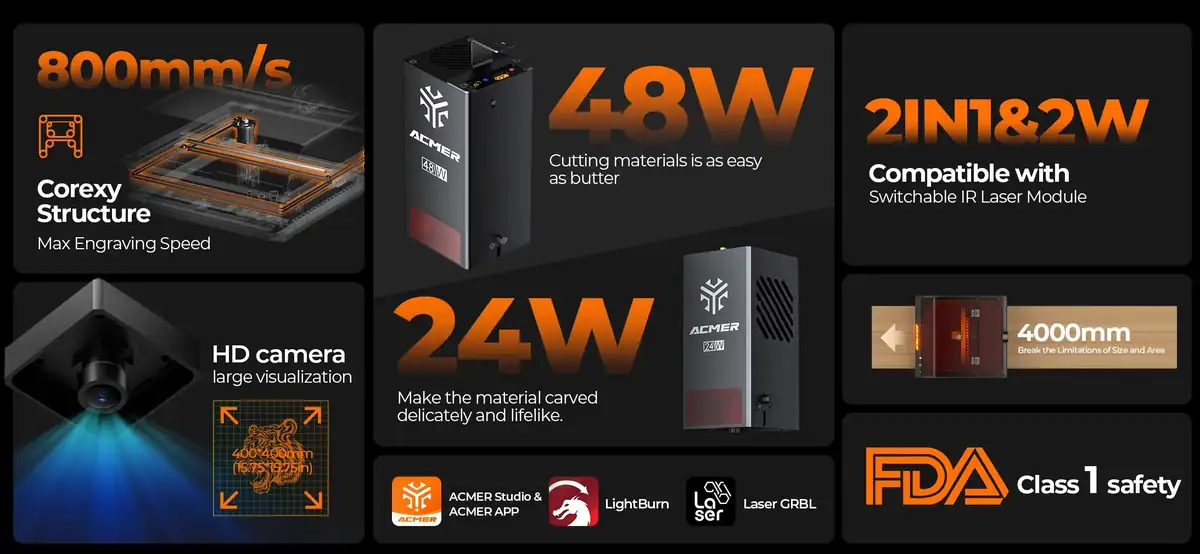
ACMER’s enclosed P3 is offered with 24W and 48W diode configurations. The larger format, camera support and CoreXY motion system make it suited to a map project that needs careful placement across a broad panel. The 48W version lists a working area of roughly 400 by 390 mm and speeds up to 800 mm/s, though the best engraving result is about controlled settings, not chasing the highest number.
A route map becomes personal when it keeps one imperfect turn instead of polishing the trip into a brochure.
The run
Test the line before committing the whole map
Place a small sample of the thinnest route line, the smallest town label and the darkest filled icon on scrap. That single test tells you more than a perfect preview on screen. If the line breaks, slightly increase its weight; if letters close up, reduce power or enlarge the type.
- Confirm the material is laser-safe and free from unknown coatings.
- Use the camera or frame preview to check the panel position.
- Turn on the required extraction and keep the enclosure closed.
- Stay with the machine for the entire job.
- Keep the original route file and the final settings together.
Engrave first and cut the outer shape second if the design includes both. This keeps the panel stable while the detailed route is marked. Brush away residue gently, then choose a finish that does not muddy the fine lines. A clear matte coat usually lets the map stay legible without making it look glossy.
The display
Add one private detail
The front of the piece can stay clean while the back holds the part meant only for the travelers: the car’s nickname, a line from the shared playlist, or the coordinates of the morning that changed the plan. A small tabletop stand makes the map easy to move; a recessed hanging slot gives it a quieter place on the wall.
The result is more than route art and less than a complete record, which is exactly why it works. It recalls the scale of the trip at a glance and leaves room for the stories to return on their own.
See the tools behind the map
Explore ACMER’s enclosed laser systems, specifications and material guidance before starting a route keepsake of your own.